Spring means many things, longer days, flowers blooming, birds tweeting. But it also means it's time for spring cleaning! And what better way to start than with National Cleaning Week beginning March 27th?
Of course, as you clean your home from top to bottom, you'll want to give your appliances a good scrub. This way, your appliances stay at peak performance and last as long as you need! But first, you'll need some tips on the best ways to make your appliances sparkle.
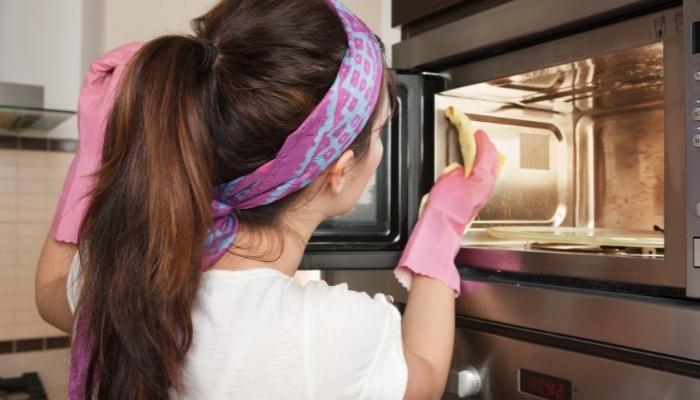
Tackling the Microwave

When should you clean your microwave? Well, if there is more crusted over food and stains than anything else, you're more than due for deep cleaning, especially if you can't get that burnt popcorn smell out of there. But with these tips, you'll have an easy job of it!
- Fill 1 cup of water in a microwave-safe bowl or glass measuring cup.
- Slice a lemon in half and squeeze all the juice from both slices into the water. Then drop the halves into the container.
- Place the container in the microwave and put it on high for 5 to 10 minutes (you want the mixture to boil and steam the window).
- Let it cool for 5 minutes, then carefully remove the container.
- Remove the turntable, wipe it down with a sponge or dishcloth, and wipe all the surfaces inside the microwave (avoid the vents).
- If the door is greasy, use a damp sponge dipped in baking soda or a mixture of half vinegar and water to clean it.
Oven Deep Clean

It's easy to forget adding cleaning the oven to your list if you don't use it very much. But if the inside is full of grease and grime, or you smell a greasy, burning smell whenever you turn it on, it's time to put on the gloves and get to work!
- Mix ½ cup baking soda with 2 tablespoons of water (can use more or less) and create a spreadable paste. Repeat if you don't have enough.
- Put on gloves and spread the paste everywhere in the oven. Avoid coating the heating elements or gas vents with the paste.
- Close the door and let it sit for 8 to 10 hours.
- Put racks in the sink or bathtub, spray with distilled white vinegar, then sprinkle dry baking soda and watch it foam.
- Then fill the sink or tub with hot water until racks are submerged and let them soak for 8 to 10 hours.
- When it's time, open the oven and wipe down all the surfaces with a damp sponge or cloth.
- For stuck-on food, use a melamine sponge or spray the spots with vinegar to make it easier to wipe them away. Then do the same with the racks and let them dry before returning them to the oven.
Pro Tip: Be sure to use the self-clean feature if your oven has it, then wipe away the ash after the self-clean finishes.
Refrigerator Deep Dive

It's easy to forget cleaning out the fridge on your spring-cleaning to-do list, but boy, you'll be glad you did so! Especially if you notice an odor every time you open the refrigerator to grab something.
- Unplug your refrigerator to not waste energy or turn off the circuit breaker.
- Empty the refrigerator. Make sure to leave perishables like milk and yogurt in a cooler.
- Organize your food and throw out expired or fuzzy foods.
- Take out removable shelves and drawers and clean thoroughly with dish soap and warm water. Make sure to wait until your drawers and shelves are room temperature before cleaning with warm water to avoid cracks.
- Scrub the interior with white vinegar or spray with a mixture of 2 tablespoons baking soda and 1-quart hot water.
- Wipe down the exterior!
Pro Tip: For harsh, lingering odors, fill a container full of baking soda and let it sit in your fridge for a few days. Or put a couple of cotton balls filled with vanilla extract for a more pleasant smell.
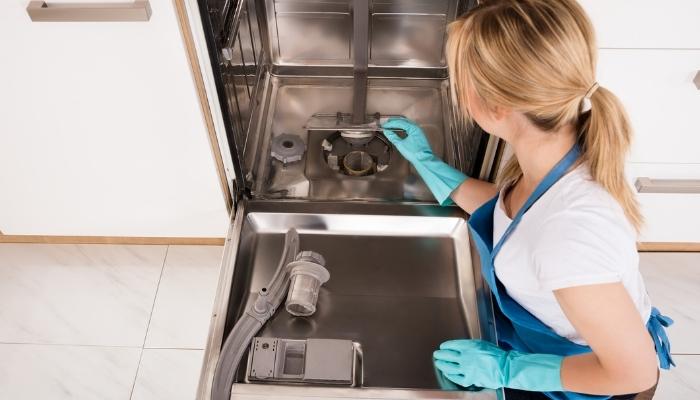
Giving the Dishwasher a Once-Over

Have you noticed the inside of your dishwasher getting grody? It might be time to give it a once-over and clean it out.
- Remove all foreign materials from the drain and around the bottom of the dishwasher.
- Inspect the spray arm and scrub any food particles from the spray holes with vinegar and an old toothbrush.
- Get a small dishwasher-safe bowl, place it on the top rack, and then fill with white vinegar and complete an entire wash cycle on the hottest water setting.
- Once that cycle finishes, sprinkle a handful of baking soda into the bottom of the dishwasher and run another cycle using the hottest water setting.
- If you're dealing with stubborn mold or mildew, pour 1 cup of bleach into the bottom of the dishwasher and run another cycle on the hottest water setting. DO NOT do this if you have a stainless-steel tub!
Pro Tip: Run your garbage disposal before starting a load of dishwashers to keep the pipe and drain clear and avoid buildup.
Washing the Washer

You might not think that your washer needs cleaning because it does the cleaning. But after running so many loads of laundry, the detergent buildup can affect how clean your clothes are actually getting. So with regular maintenance, you can get ahead of the problem!
Top-Load Washer
- Start a load with hot water.
- Add 1 quart of bleach, and then let the agitator run for a minute.
- Lift the lid, let the mixture sit for an hour, and then run a complete cycle.
- Repeat steps 1 – 3 with distilled white vinegar.
Front-Load Washer
- Add ½ cub of liquid chlorine bleach to the detergent compartment.
- Fill the bleach dispenser to the highest level with bleach.
- Run a normal cycle with warm water.
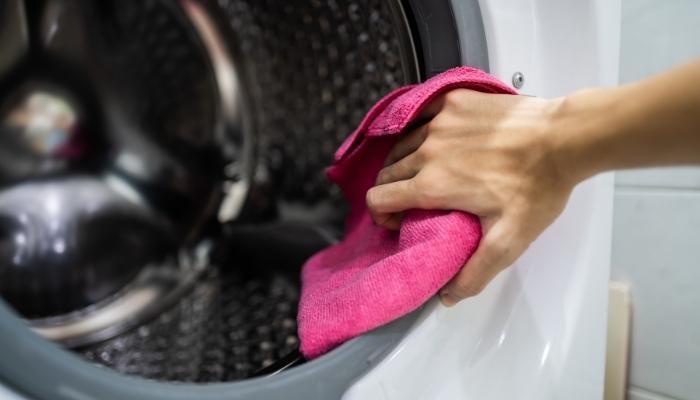
- When the cycle is done, wipe the seals and door with an absorbent cloth.
- Make sure to dry the door opening, flexible gasket, and door glass.
Start From Scratch with New Appliances!
Cleaning out your appliances is a tough job but well worth it when you walk into your clean kitchen full of shiny appliances. But if your appliances are looking tired out even with all that cleaning, it might be time to start from scratch and buy new ones!
Have any questions about appliances? Give our team a call! At Action Appliance, we're always happy to lend a hand!